
Steam OS First Impression
Seeing as how I’m very interested in the upcoming Steam machines and curious as to how Steam OS would function, it was natural to want to install the beta. And my Steam OS first impression is that it has tremendous potential but as of right now it’s only worth installing for those who have a strong curiosity for Steam OS, and a strong stomach to configure hardware and sort through OS error messages. For me it was worth it because I wanted to get my hands on it and have that experience, and as the functionality of it increases it can definitely be a game changer in ways. And I also had to wait for support for AMD graphic cards before I could even install it on a separate hard drive. And yes I highly recommend using a separate hard drive so you don’t have to worry about making an error and end up losing everything on your computer. And you’ll also need a separate USB drive that’s at least 4 GB and this is a requirement for installation.
There are two ways to install Steam OS:
Default installation – Requires 1 TB of free space and this Steam OS Beta file
- Format a 4GB or larger USB stick with the FAT32 filesystem. Use “SYSRESTORE” as the partition name.
- Unzip the contents of SteamOSImage.zip to this USB stick to create the System Restore USB stick.
- Put the System Restore USB stick in your target machine. Boot your machine and tell the BIOS to boot off the stick. (usually something like F8, F11 or F12 will bring up the BIOS boot menu).
- Make sure you select the UEFI entry, it may look something like “UEFI: Patriot Memory PMAP”. If there is no UEFI entry, you may need to enable UEFI support in your BIOS setup.
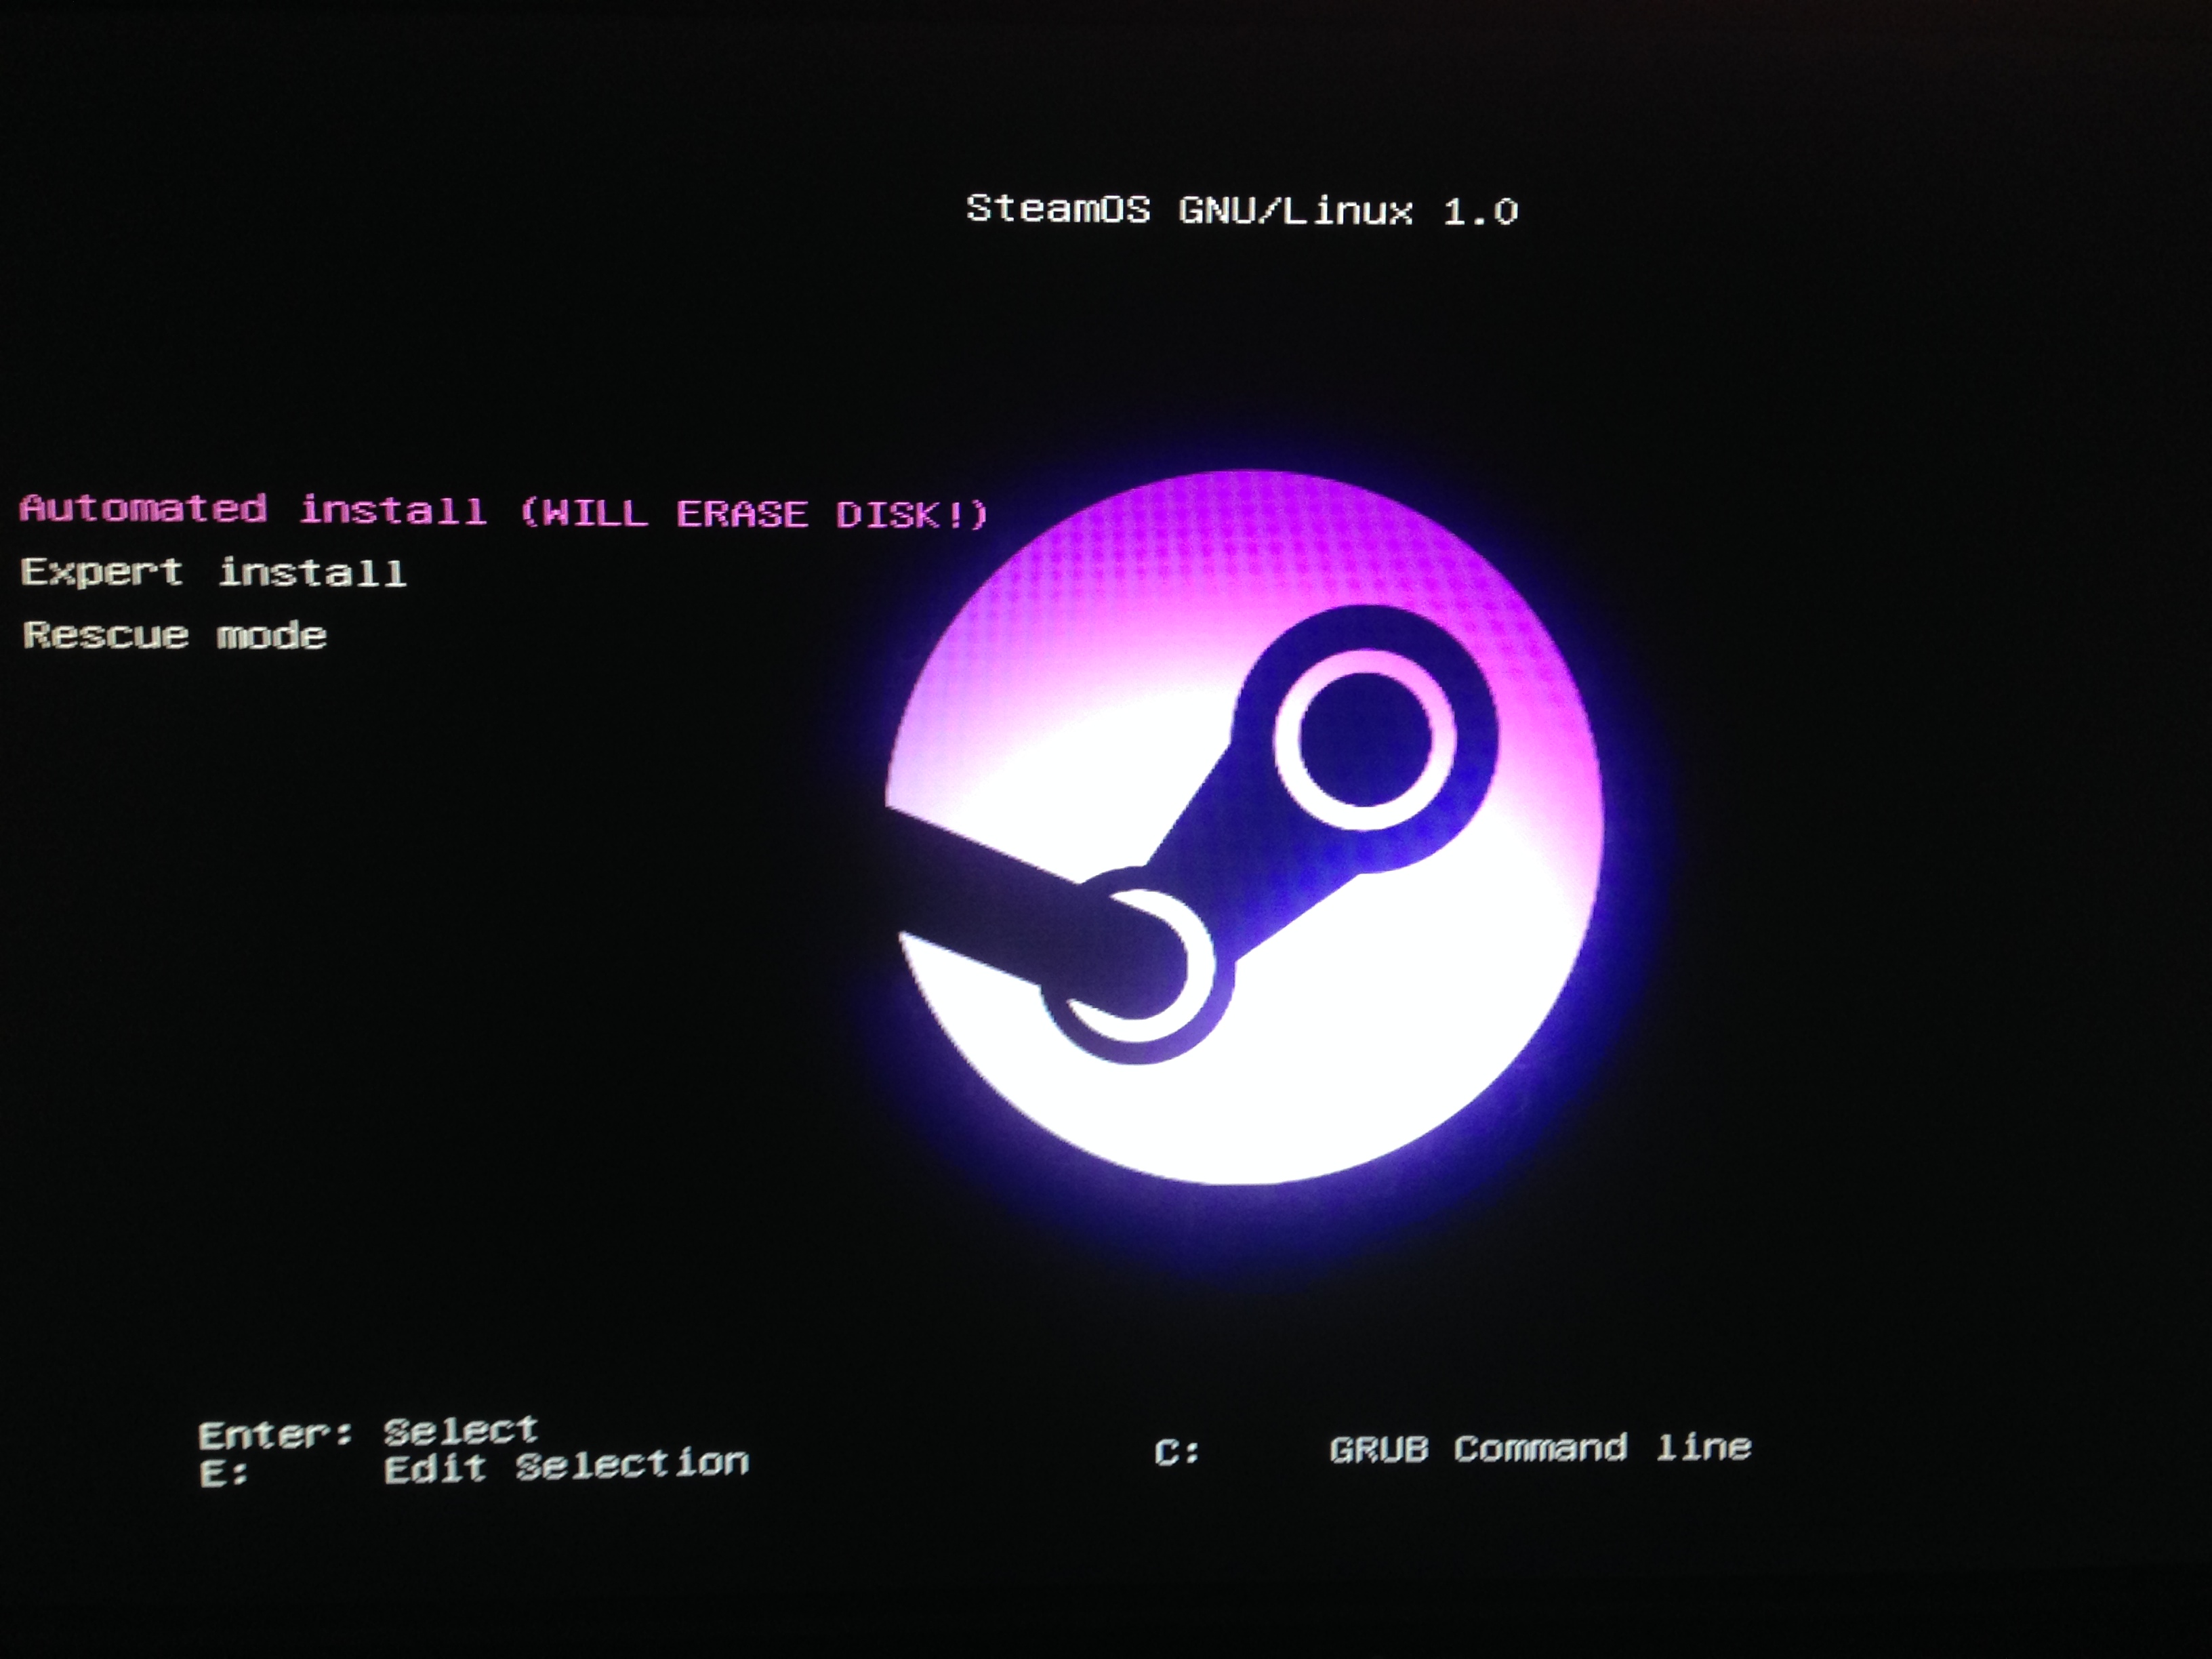
- Select “Restore Entire Disk” from the GRUB menu.
- When it is complete it will shutdown. Power on the machine to boot into your freshly re-imaged SteamOS.
Or
Custom installation, which is the installation I used with a 500 GB Seagate external hard drive. You’ll need the custom Steam OS beta file but it’s more complicated than the official steps listed on the site. The custom file download size when I installed it was 965 MB and I unzipped it to the USB flash drive. I disconnected my regular hard drive in case the installer pointed to the wrong drive and sure enough it did as it overwrote the flash drive instead of the hard drive. So I ended up repeating the download and unzipped the file and these were the remaining steps:
- Select boot options
- Select UEFI: USB Flash Drive
- Restore Entire Disk
- Expert Install (if you choose custom install it will install to wrong drive)
- Load and install components
- Partition Disks – select correct drive
It took me some time to actually get it to install and even now when I boot up I have to do it as Recovery Mode so if you do want to install and encounter some errors I’ll have some additional steps at the end of this post.
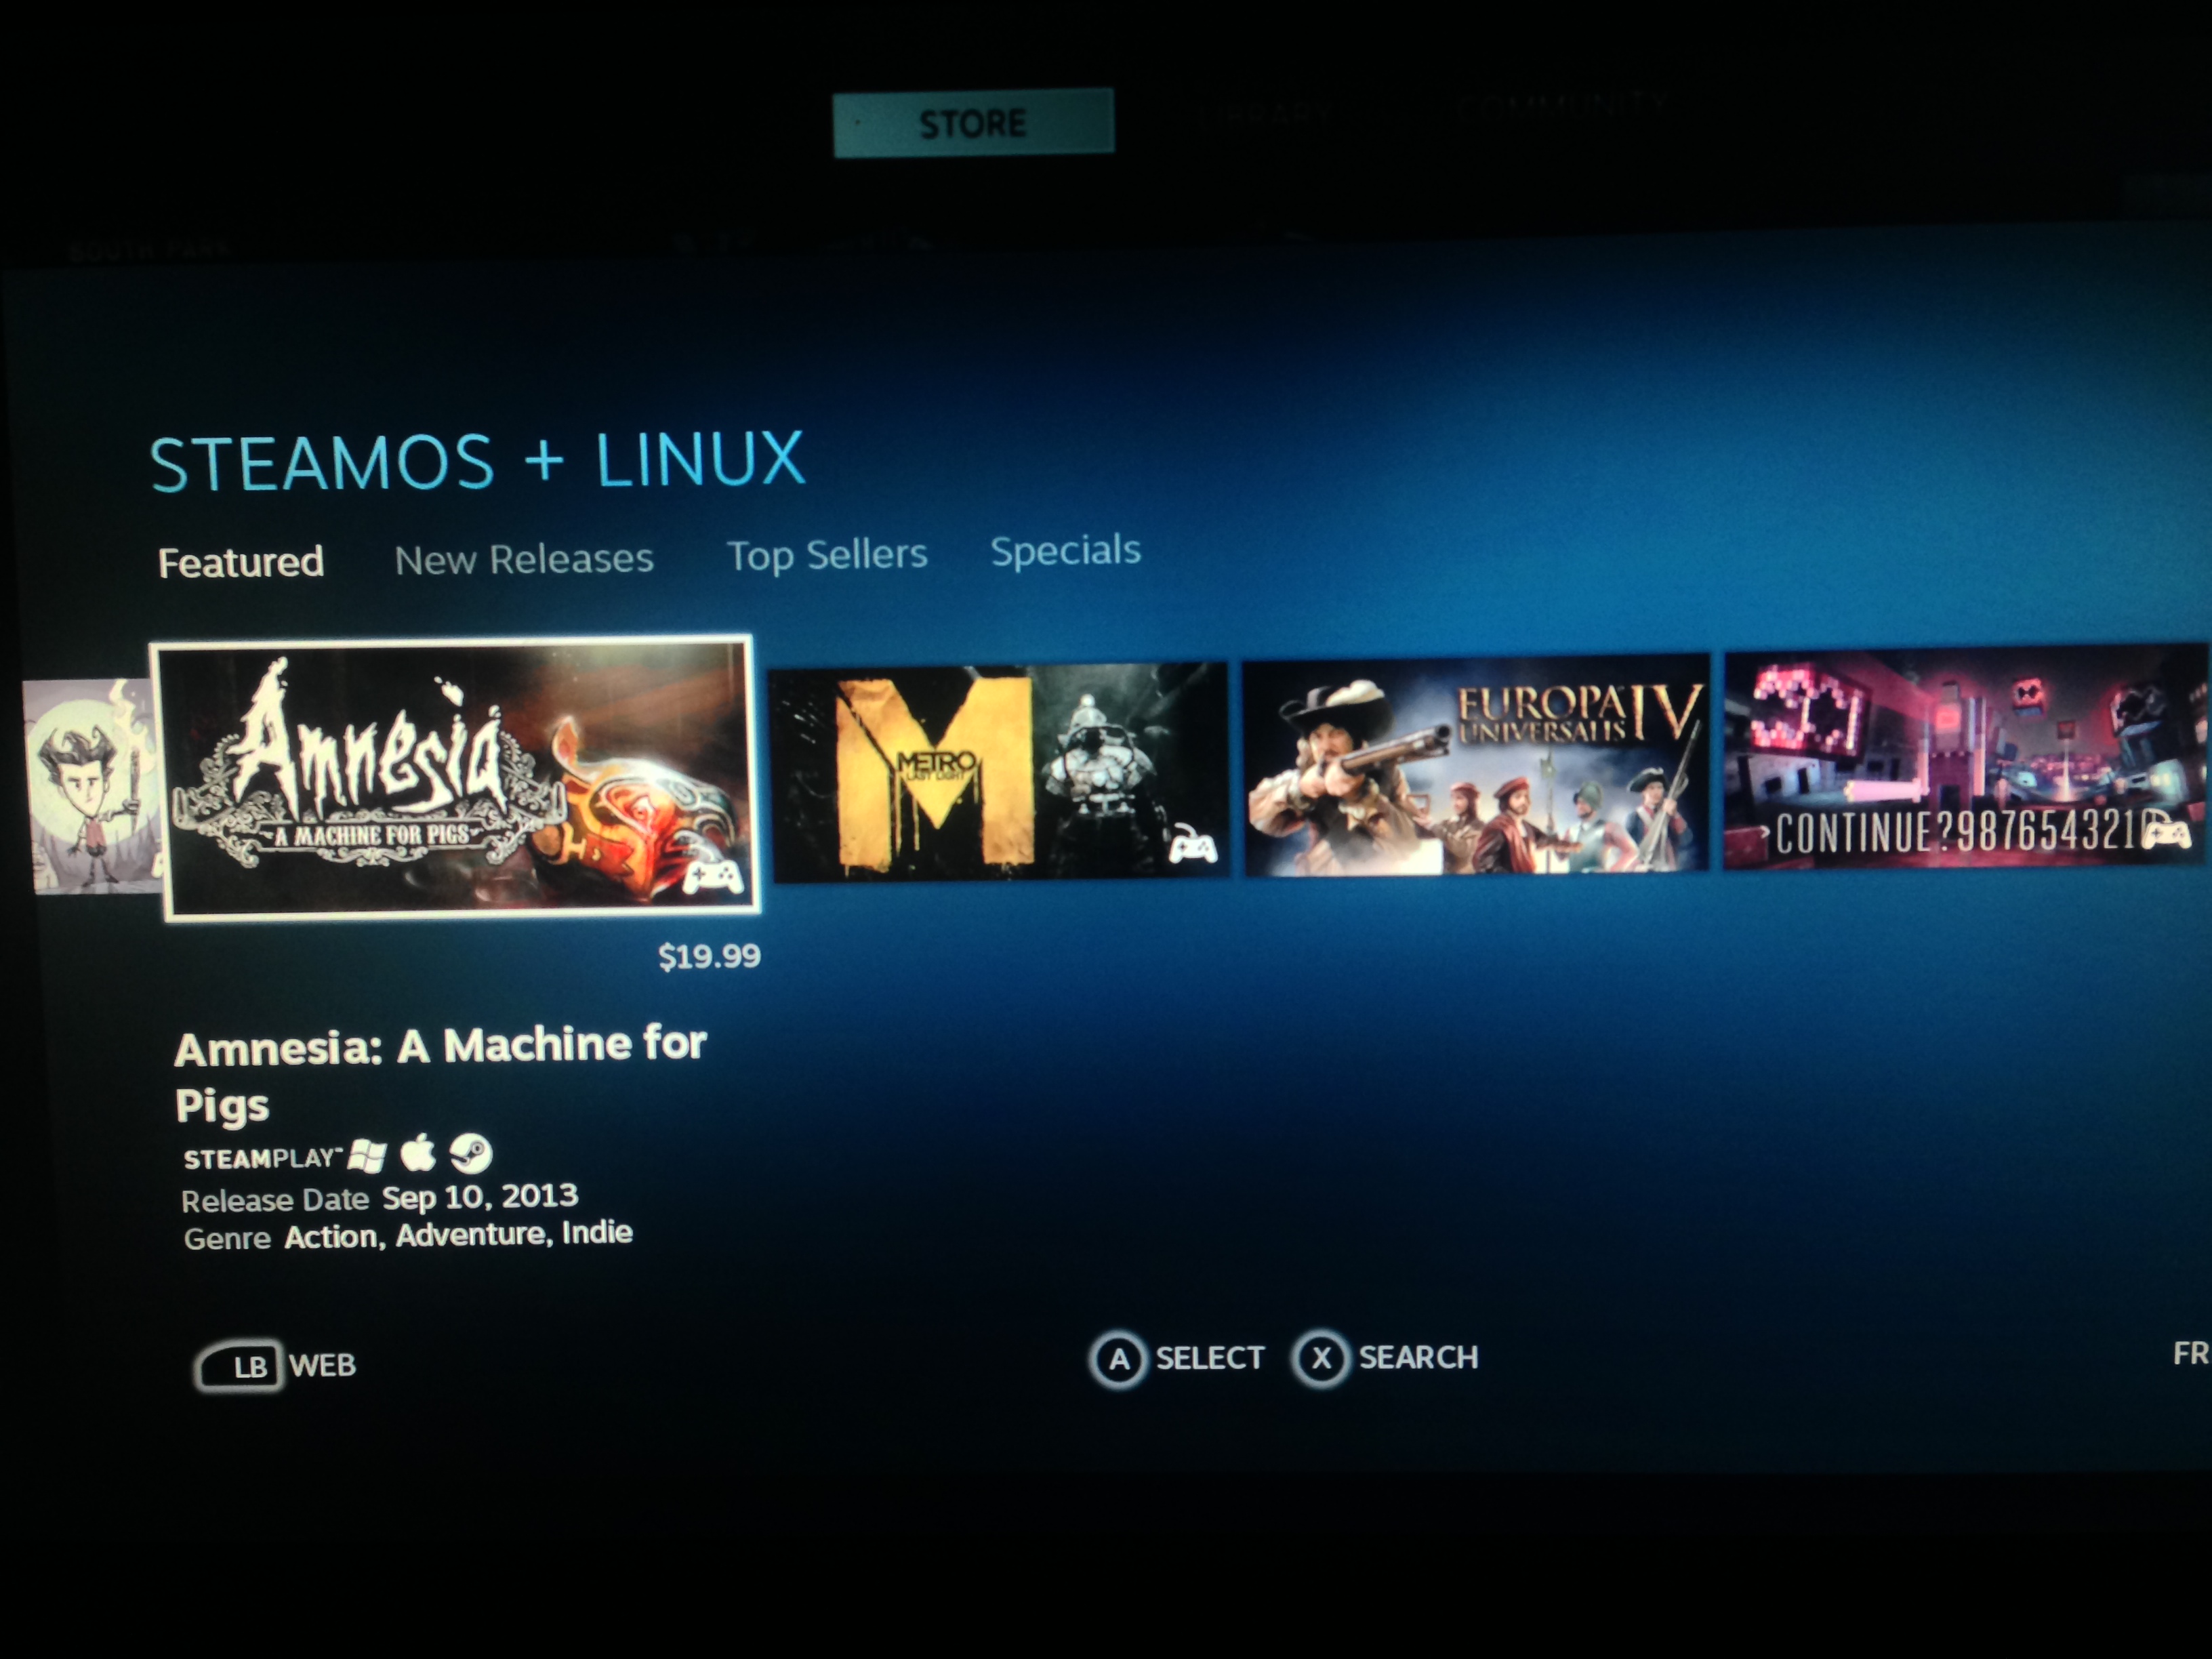
Now, it’s a simple layout once you finally boot to Steam OS and if you’re familiar with Linux then you’ll be familiar with the desktop. If not then you can play around with it and see what it has to offer. The Steam application still looks the same so you won’t have to learn anything new in order to use it but it works best here in Big Picture mode and this gives a true feeling of a console dashboard on a PC. On the home screen are 3 main options: Store, Library, and Community. There’s also a Web screen to the left that allows you to browse the internet and I have to say that selecting letters using the controller is much easier than on the PS4 or Xbox One because each button corresponds to different letters. And your friend list is on a separate screen to the right and here you can see friend’s activity in a much easier to read format. And since the Big Picture mode has been available for some time it’s very refined and absolutely rivals the dashboards on consoles in terms of ease of use.
The problem with Steam OS now and why it wouldn’t be worth installing for regular use is you can only play games that are currently compatible with Linux, including all Valve games, and won’t be able to play your entire library. And it’s not a gaming machine if you can’t play games. The most recent game I had available that I could actually install from Steam was Metro Last Light and the performance suffered except on very low settings. Again, I have an AMD graphics card so this played a huge factor as well considering support was only recently added. And yes I could tinker with utilities and drivers to double and triple check to see if everything was up-to-date but that would only highlight what is lacking in the beta now with the additional error messages when automatically checking for latest drivers through Steam OS. And since it would be just to continuously test a game I’ve already finished (and thoroughly enjoyed) this was suffice for a first impression. Here are some screenshots comparing Metro at the highest graphic setting running on Steam OS beta and running on Windows:
So Steam OS does have potential but if you want to experience it to some extent without having to install a new OS then you can use Big Picture Mode now and get a little taste of it. I think ultimately Steam OS will be impressive and deliver on what Valve has promised, and I will install it when it’s officially released to have on a separate hard drive.
NOTE: If your initial installation erased the contents of your flash drive and you don’t know how to undo that here are a few steps that will help. Most likely the error messages you receive are due to that and it’s what I encountered.
partitions created on Steam OS.
- Open a command prompt and type “diskpart”
- Type “list disk” to identify the USB drive
- Type “select disk ###” with ### being the USB drive
- Type “list partition” to make sure it’s the USB drive
- Type “clean”
This will erase everything on the USB drive and you can repeat the steps listed at the top of this post to add the Steam OS zip file once again. And be sure to select expert install this time.
Leave a Reply